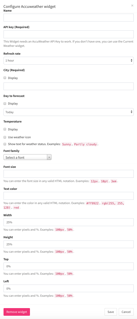
Overview of the Weather Widget Configuration
Click to see full screen image
Weather Widget Overview
Purpose
The Weather Widget shows the weather temperature, weather-specific icons, and weather descriptions for today and up to 4 days ahead, giving a full 5 day forecast.
Use Design
When designing incorporation of a Weather Widget element you'll want to identify which one (or all) features you want for the display:
- Temperature
- Weather icon
- Weather description text
From here you'll want to make slightly more obvious decisions:
- Celsius or Fahrenheit
- Which City
- How often the weather forecast should be updated on the back end for accuracy
Field and Button Descriptions
Name
 A description of the widget. This is optional as it is only used in the widget dropdown section for a quick-glance understanding of the widget. For more information on the widget dropdown section, go here.
API key (Required)

You can obtain an API key in one of two ways:
-
Get an AccuWeather account here, and then follow these instructions to grab the API key.
- Purchase an AccuWeather subscription through OmniAlly. Email sales@omnially.com or your Experience Manager to see current pricing. If you've already purchased through us but have lost your API key, reach your Experience Manager or email support@omnially.com.
Refresh rate

The refresh rate is the frequency that the system reaches out to see if there's any update on the current weather. This is useful if weather forecasts are changing frequently, especially if you have a Weather Widget for today's forecast. The lower the hour rate the faster it will re-update.
City (Required)

The city where the forecast should pull from. Add the two-letter State if multiple cities are available in other states.
For example, try Portland, OR instead of Portland if you don't want it to accidentally pull Portland, Maine's weather forecast.
Display
Click "Display" if you want the City value to be shown on the screen. Most will use a Text Widget for this purpose as it provides greater flexibility. More information on the Text Widget here.
Days to forecast

Select the day that you want to show weather values for. Options are from Today to 4 days ahead, giving 5 days of weather information.
Display
Click "Display" if you want the forecasted day value to be shown on the screen. Most will use a Text Widget for this purpose as it provides greater flexibility. More information on the Text Widget here.
Temperature

Display
Click Display if you want to show the temperature within the Weather Widget.

You can also choose between Celsius or Fahrenheit, depending on your location and purpose.
Use weather icon
To display animated or static weather icons.

Icon pack
Choose from static or animated icons based on the style you wish to portray in your layout.
Speed (frames per second)
The speed that animated weather icons will move. Lower numbers mean it will move more slowly, and higher numbers means it will move faster.
Show text for weather status
Click this checkbox if you'd like the Weather Widget to state the weather condition (rainy, sunny, partially cloudy, etc).
Font Settings

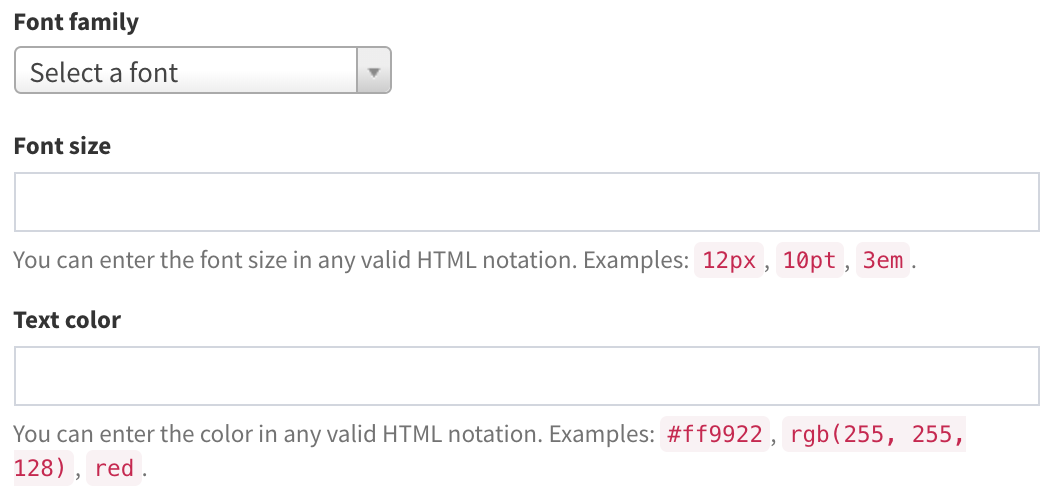
Font family
Choose from any of the currently available Google Fonts. For a full list, see Google Fonts.
Font size
Set the font size by pixel, point, or Ems. You will need to specify the measurement unit when inputting the size. For example, 12px, 12pt, and 12em are completely different from each other. No unit applied will default to pixel count. To learn more about the difference between these, check W3's CSS page here.
Font color
Can be defined in plain text (red, blue, green), or by its HEX number. This number can be identified by selecting the exact color you want in a color picker such as the one provided by HTMLColorCodes.com here.
Widget Width and Height

Set the width and height in either pixels, or as a percentage of the screen. Pixels is good for exact placement when you know precisely the video output resolution the computer will use, while percentage is useful if using the same layout across multiple devices where different resolutions may be in place (i.e., one screen has 1080p and the other is 4k).
Widget Positioning

Set the widget position manually instead of drag-and-dropping from the canvas.
Top
Set the distance from the top of the screen that the widget container should start at. Can be shared in pixels or percent of the screen.
Left
Set the distance from the left of the screen that the widget container should start at. Can be shared in pixels or percent of the screen.
Save button
Save the widget settings. For final savings you'll still need to click any of the "Save" variants as shown in the Layout Configuration page.
Remove widget button
Delete the widget completely. This is irreversible, so use with caution.

