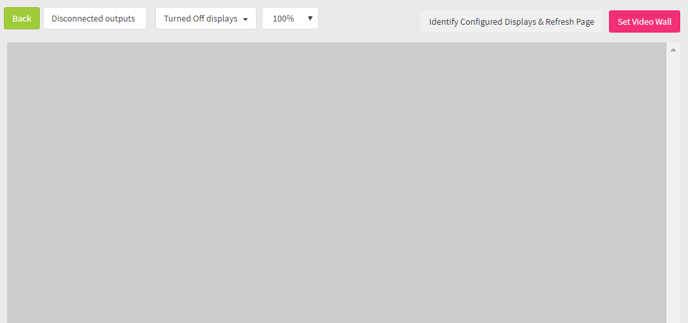
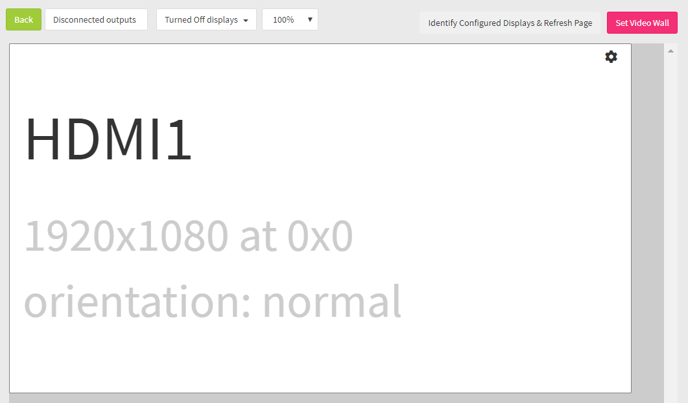
An overview of the Customize Video Wall page
Page Layout
Canvas

This is where the display arrangement happens.
The displays within the canvas.

Any display within these parameters can be drag and dropped to another location, and will snap-to the LCD next to it for quick arrangement
Controls
Canvas zoom, disconnected and turned off outputs can be managed from this area. See below for more details.
Field and Button Descriptions
Disconnected outputs
Shows all outputs that do not sense a display.
Turned off displays
Shows all displays that sense a display, but are turned off. Clicking on one of these displays will put the virtual display on the Customize Video Wall canvas.
Displays within the canvas
Selection of the gear icon allows more finite control over the output:
On
Selecting this will keep the output on. Unchecking it will turn the output off.
Position
The x,y coordinate of the upper left corner of the output. Useful for fine adjustments.
Resolution
All available resolutions as given by the display. Select whichever works for your needs. Typically this is the highest available resolution.
Orientation
Select the orientation of the output: normal, right, inverted, left.
Save
In order for the changes to take effect "Save" must be pressed. This will not send the action to the device, though.
Zoom
Makes the canvas smaller or larger. Useful for very large video wall arrangements.
Identify configured displays & refresh
This will put a message on the screen for each output so that you can map a video wall against the output orientation. Typically only advanced users will manipulate this.
Set Video Wall
Used to send the Video Wall Configuration to the device through an action. This is effectively "Save and Apply".

